How to Press Cut Flowers
If you’re looking for a simple guide for how to press flowers, this post is for you! Whether you have a cutting garden in your backyard, a handful of wildflowers you picked from the side of the road, or you want to press your wedding bouquet, this beginner guide will teach you how to press flowers and make art with them!
I love pressed flower art and when I got married this summer, I really wanted to press my wedding bouquet. But a lot of the guides I found online were complicated. And those that involved an iron were completely out of the question!
The day after our wedding, Curtis and I hopped on a plane and headed to Europe for a month. But, bless my mom who was staying at our house during that time, she knew I wanted to have those flowers pressed. She and my brother’s girlfriend used this technique to press my bouquet, and you’ll see from the pictures that it worked great!
How to Press Flowers in Three Simple Steps:
- Pick fresh, dry flowers. The flowers used in this guide were from my wedding bouquet and my mom helped press them the following morning. If you’re picking flowers fresh from the garden, pick them on a sunny day and don’t be afraid to let them dry out a little.
- Place the flowers on a piece of parchment paper and lay them between the pages of heavy books. We used old hardback books as decoration for our wedding, so these were just laying around asking to be used for craft!
- Close the book and weigh down the pages (stack the books on top of each other or add a rock or brick). Let the flowers sit for 10+ days. Ours sat between the pages of these books for a month while we were on honeymoon.


As you’re about to be able to tell — I had little involvement in the whole pressed flower process! Other than growing that cat mint and taking these photos, I really did nothing at all.
But Curtis says you can take his word for it, making art with the flowers is extremely easy. After all, beautiful flowers basically do the work for you.
How to Display Your Pressed Flowers:
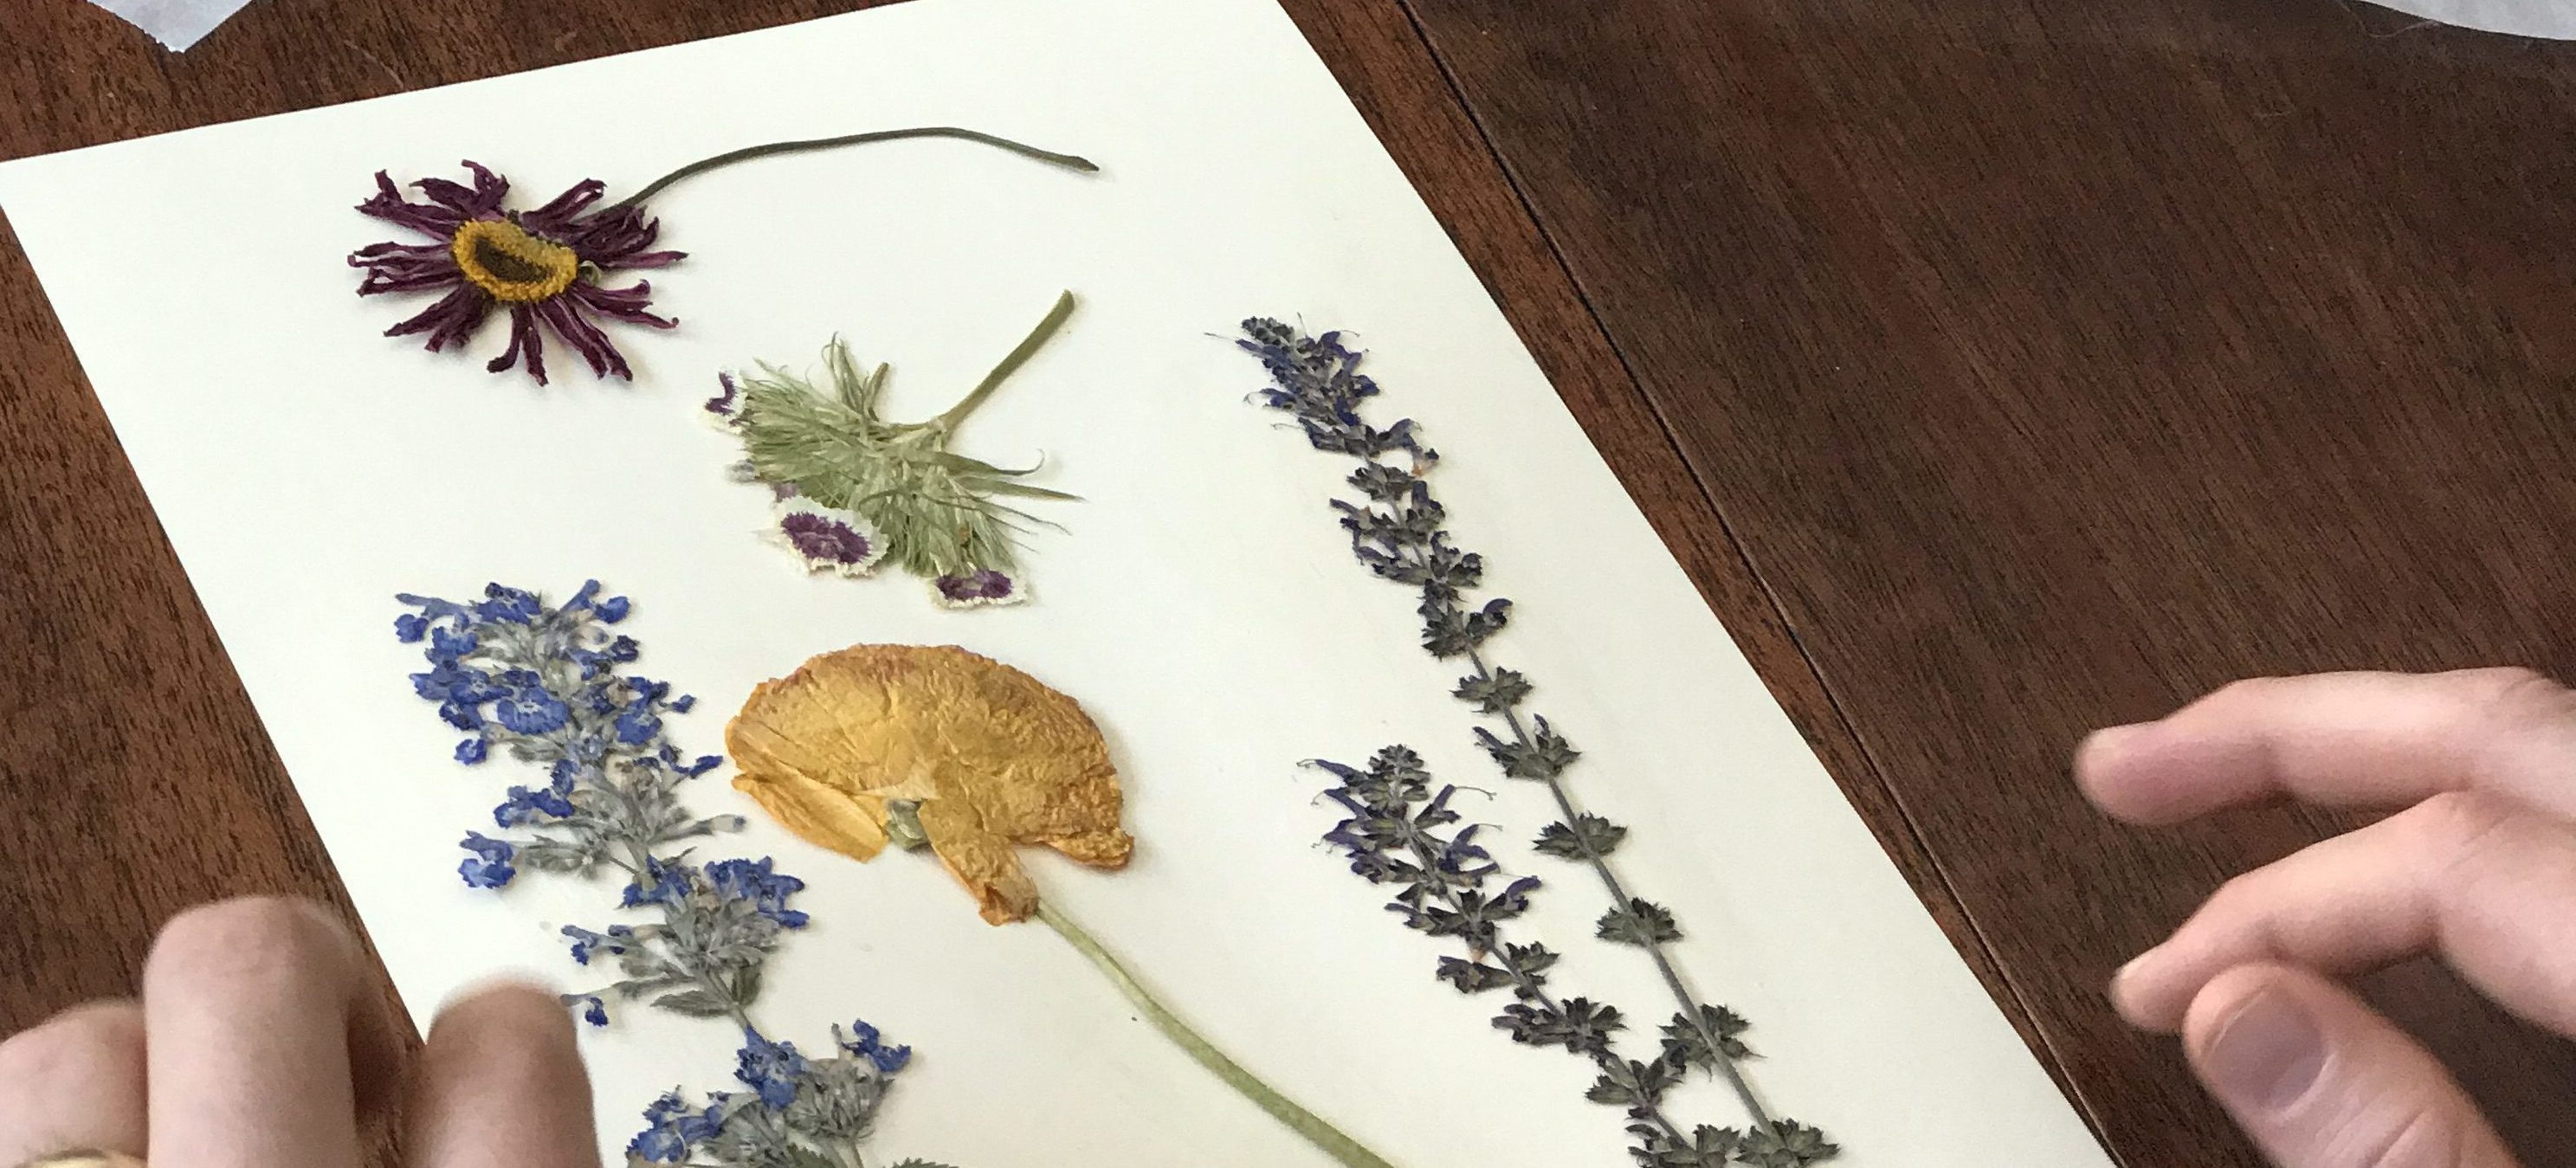
- Remove all the flowers from the books and lay them out in front of you so you can see what colors and styles you have to work with.
- Lay the flowers out on a piece of cardstock — try out a few designs before you glue!
- Apply glue to the cardstock and gently press the flowers into the glue. We used a plain old glue stick.
- Let it dry. Take your time with this one. Test to make sure the flowers are stuck and not moving around.
- Then frame it! We made pictures from these pressed flowers and displayed them in vintage frames from Goodwill. We gave them as Christmas gifts for family members so they’d have a memento from our wedding!


I hope this post gives you the confidence to press flowers from your garden this summer. If you do, share on Instagram and tag me — I’m @brumeanddaisy there.
Now I’m truly in the mood for spring. Peace, dear ones, Emily


